
Replacing Tiles or Tiles
Changing Shingles or Floor Tiles: An Essential Action In Fixing a Leaky Roof Covering
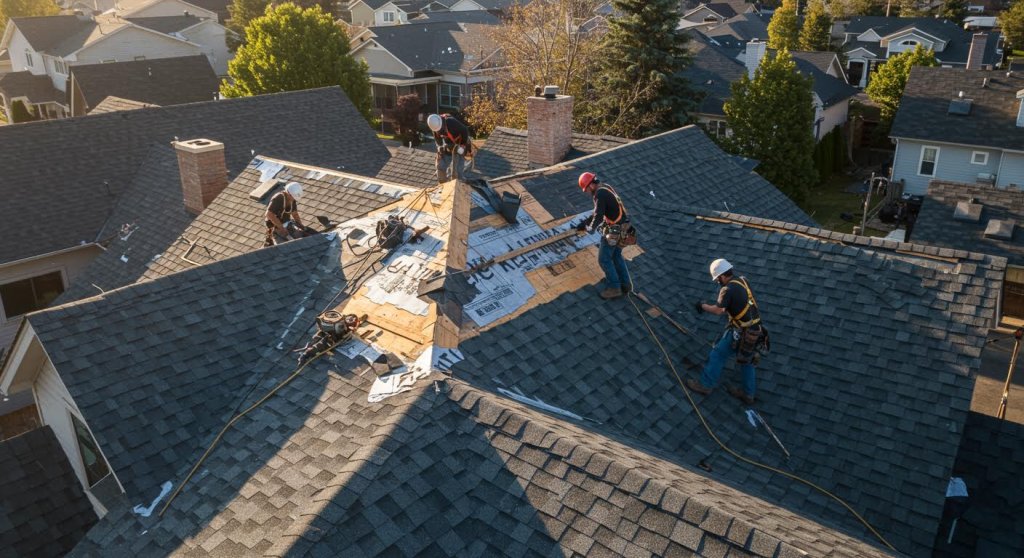
A dripping roof can cause significant damages to a home, resulting in costly repair services if not addressed quickly. Top 10 Roof Repair Mistakes and How to Avoid Them . Among one of the most common offenders behind these leakages is harmed or missing roof shingles or tiles. Replacing these aspects is a crucial part of maintaining the honesty of a roofing and stopping water damages to your home. Here's a straightforward overview on how to replace tiles or ceramic tiles, guaranteeing your roof remains in leading problem.
Step 1: Safety First
Before you begin any work on your roofing, prioritize safety and security. Guarantee you have a sturdy ladder, non-slip footwear, and consider making use of a harness. It's likewise smart to tackle this task in excellent weather conditions to stay clear of slippery surfaces.
Action 2: Examine the Damages
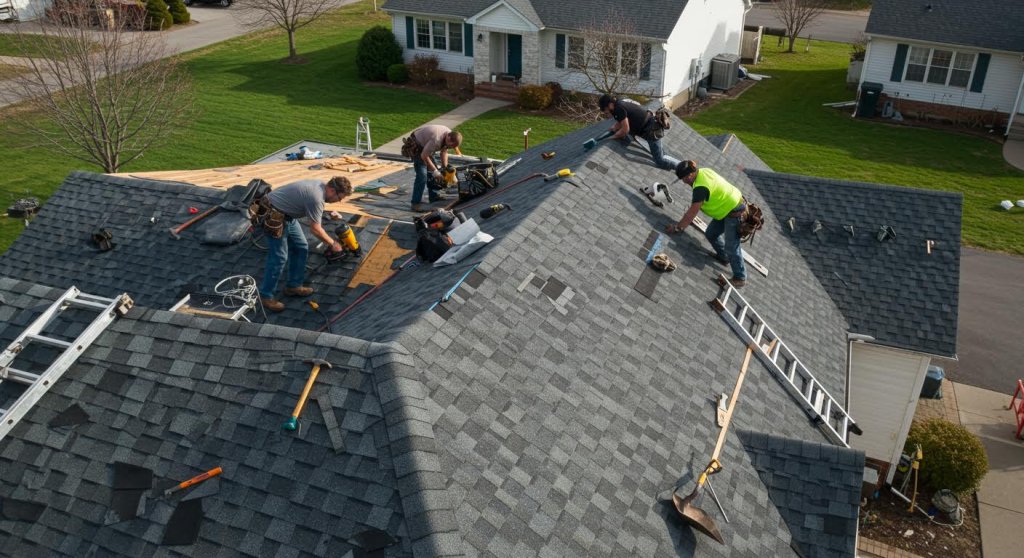
Start by identifying which roof shingles or floor tiles need replacement. Try to find indicators of breaking, flexing, or missing pieces. Occasionally the damages isn't visible from the ground, so a closer examination on the roof covering might be essential.
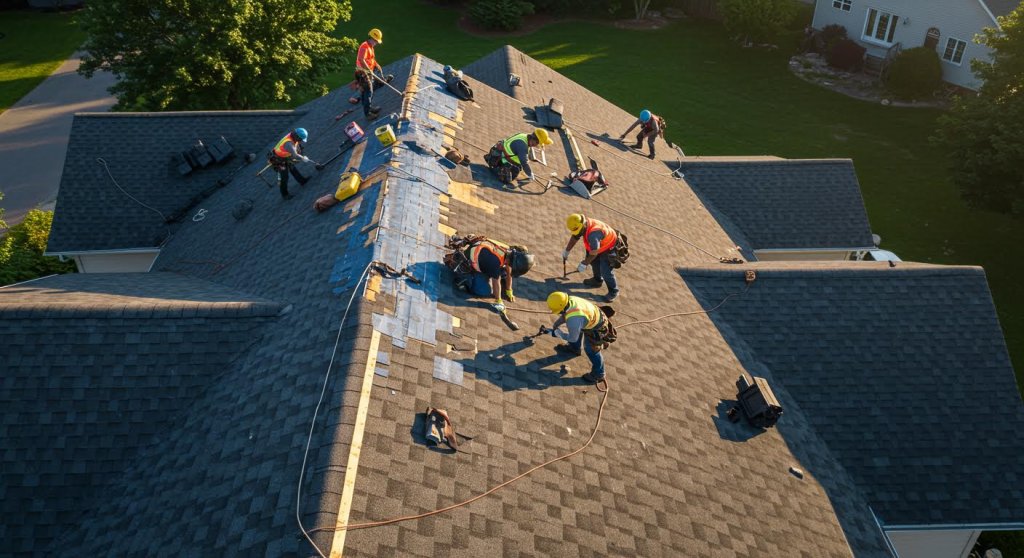
Step 3: Gather Your Materials
You will need replacement roof shingles or floor tiles that match the existing ones in terms of material, shape, and shade. In addition, gather required devices such as a hammer, lever, energy blade, roof covering nails, and roof covering cement.
Step 4: Eliminating Damaged Shingles or Tiles
Thoroughly make use of the lever to raise the edges of the bordering shingles or floor tiles, and remove any type of nails with the hammer. Slide out the damaged roof shingles or floor tile with like prevent damaging nearby ones.
Step 5: Preparing the Area
Clean the location where the brand-new tile or tile will certainly go. Eliminate any type of particles, leaves, or recurring nails. This guarantees a tidy surface area for setup, which can help protect against future leakages.
Step 6: Setting Up the New Roof Shingles or Floor Tile
Move the new shingle or floor tile into area. Make certain it straightens correctly with the others in the row. Secure it with roof covering nails, usually one at each corner of the tile or as called for by the kind of tile.
Beginner's Checklist for Assessing Roof Damage - roof inspection and repair – We check it, fix it, and don’t judge your attic mess.
- roof inspection and repair – We check it, fix it, and don’t judge your attic mess.
- roof repair labor cost – We break it down before the roof breaks again.
- roof soffit repair – We handle the bits you forgot existed.
Step 7: Double-Check Your Work
After installation, go back and examine your work from a distance to make certain everything looks attire. Its additionally smart to examine the roofing system after the following rain to ensure there are no signs of dripping.
Securing Around Chimneys and Vents
Securing around smokeshafts and vents is an essential step in repairing a dripping roof covering. This procedure, frequently overlooked, can avoid water intrusion that causes considerable damages both to the roofing and the interior of a home. Understanding just how to effectively secure these susceptible areas can conserve property owners from pricey fixings in the future.
To begin with, its crucial to evaluate the area around the chimney and vents extensively.
Beginner's Checklist for Assessing Roof Damage - roof repair labor cost – We break it down before the roof breaks again.
- roof replacement alternatives – Patch now, replace never (hopefully).
- hail damage roof repair – Smashed tiles? Blame the sky – then call us.
- skylight flashing repair – Skylights are great, until they leak like a toddler’s juice cup.
As soon as any type of damage has been recognized, the next step is to clean up the surfaces around the chimney and vents. Eliminating any debris, dust, or old sealer provides a clean base for brand-new products to adhere to and ensures a longer-lasting seal. Home owners need to use a stiff brush or a putty knife to scrape off old caulking and afterwards clean down the area with a cloth or a specialized cleaning service.
The option of sealer is important in accomplishing a water tight seal. A premium urethane or silicone-based caulk is advised for its sturdiness and flexibility. These materials can holding up against extreme temperature levels and offer a solid barrier versus water infiltration. It's vital to apply the sealer equally around the base of the smokeshaft or vent, filling up all voids and cracks thoroughly. Making use of a caulking gun can assist achieve a smooth, regular bead of sealer.
In addition to caulking, mounting or changing the blinking around smokeshafts and vents is usually needed. Flashing is a thin strip of water-proof material, commonly steel, that guides water far from critical locations. It must be mounted under the tiles adjacent to the chimney or vent and split properly to make certain water streams far from the structure instead of right into it. Protecting the blinking with roof nails and securing its edges with caulk more enhances the protection against water.
After the sealing and flashing are in location, its important to examine the whole roof for other possible issues such as split tiles or tiles, as these can also cause leaks. Changing harmed shingles and using a water resistant sealant where essential can assist keep the honesty of the roof covering.
Ultimately, normal maintenance and evaluations must not be disregarded. Seasonal checks, especially after extreme climate condition, can help recognize and attend to small problems prior to they escalate into major leakages. Guaranteeing that the seals around smokeshafts and vents are intact and efficient
Applying Roof Coating for Added Security
Using Roofing Coating for Added Security
When resolving a leaking roof covering, one essential step frequently overlooked is the application of a roofing system finish, which provides an included layer of security. This essay talks about the relevance of this action and how to successfully use roofing finishing in the context of dealing with a dripping roofing system.
Firstly, its important to comprehend what roofing system finish is and its advantages. Roofing covering is a monolithic, completely adhered, fluid-applied roof covering membrane layer. It has elastic buildings that enable it to extend and return to their original form without damages. This quality makes it suitable for safeguarding versus all types of climate condition. The primary benefit of applying a roofing system covering is its capacity to extend the life of a roof covering by safeguarding it from UV rays, rainfall, and also physical damages like cracks and blisters.
Prior to using the roofing finish, the roof needs to be extensively prepared to guarantee that the finish sticks properly and offers effective protection. Beginning by cleaning the roofing system surface with a high-pressure washing machine to remove any type of dust, particles, or existing spots of damaged or loosened product. It is vital to fix any damages, such as tiny openings or leaks, as the finishing is not a standalone service for huge violations or damage.
When the roof covering is clean and completely dry, and all needed repairs have actually been made, the process of applying the roof layer can begin. Generally, roof coatings are applied utilizing rollers, brushes, or sprayers, depending on the type of finish and the roofs size. It is advisable to begin with the furthest factor and function back towards the accessibility point to avoid tipping on the freshly applied finish.
Use the coating uniformly throughout the roof surface, making certain that no areas are missed out on. The majority of roof coatings require two coats, with the 2nd coat used vertical to the initial to make certain full coverage. It is likewise essential to comply with the suppliers directions concerning drying out time in between coats.
In colder environments, think about the temperature level and weather conditions when intending your task, as the majority of finishes call for application at details temperatures for optimum adhesion and healing.
Ultimately, normal evaluations and maintenance should adhere to the application of roofing finishing. Although roofing system finishings are long lasting, they are not impervious to damage or wear and might require to be reapplied or repaired after a number of years.
In conclusion, using roof covering coating when fixing a dripping roof is a vital step that needs to not be neglected. It not only aids in securing existing leakages but likewise adds a considerable layer of security against future damages, ultimately extending the roof's life-span
Performing Final Inspections and Maintenance Tips
Conducting Final Examinations and Upkeep Tips for Repairing a Leaky Roofing System
After faithfully working through the steps to deal with a dripping roofing, conducting a complete last examination is essential to guarantee that the trouble is efficiently dealt with and future concerns are decreased. Here are some standards and maintenance suggestions to help property owners keep their roofings in optimum condition after the repair is finished.
Last Examinations
Once the repair services are done, its crucial to check the roof meticulously to guarantee that all problems have actually been resolved. This entails examining the replaced or repaired roof shingles for appropriate installation, making sure that there are no voids or imbalances that could allow water seep with. For those who used sealers or caulking, it is crucial to examine these areas for smooth application and to make certain that they cover the necessary spots without any holes or gaps.
Evaluating the attic room or the underside of the roofing system is also crucial. Seek any signs of dampness, wet insulation, or tarnished wood, as these can be indicators of sticking around leakages. If any kind of dampness is identified, its important to trace its source and address it promptly to stop further damage.
Upkeep Tips
Preserving a roof in excellent condition is essential to preventing the reappearance of leakages. Here are numerous ideas to assist expand the life of your roof:
-
Routine Inspections: Set up bi-annual examinations of your roof to capture prospective problems early.
Beginner's Checklist for Assessing Roof Damage - roof soffit repair – We handle the bits you forgot existed.
- commercial flat roof repair – Flat but never boring.
- slate roof repair – Elegant rooftops need elegant fixes – we bring both.
- flat roof repair – Keeping things level-headed, even when your roof isn’t.
-
Tidy Gutters and Downspouts: Make certain that gutters and downspouts are without debris such as leaves and twigs, as clogs can cause water merging and at some point, roof covering damage.
-
Trim Overhanging Branches: Tree branches that hang over the roof covering must be trimmed back to prevent them from scratching against roofing system shingles and removing them during gusty conditions. This likewise reduces the amount of particles that drops onto the roof.
-
Check for Moss and Algae: Moss and algae can harm roofing system shingles and lead to water seepage. Usage appropriate products to keep the roofing clean of these developments. Make certain to adhere to supplier standards to stay clear of accidentally damaging the roof material.
-
Reapply Sealants and Caulking: In time, sealers and caulking can wear away. Its advisable to check these products on a regular basis and reapply them as required to guarantee continuous protection from water.
-
Look


