
Replacing Roofing Shingles or Shingles
Replacing Shingles or Tiles: An Essential Step in Fixing a Leaky Roof Covering
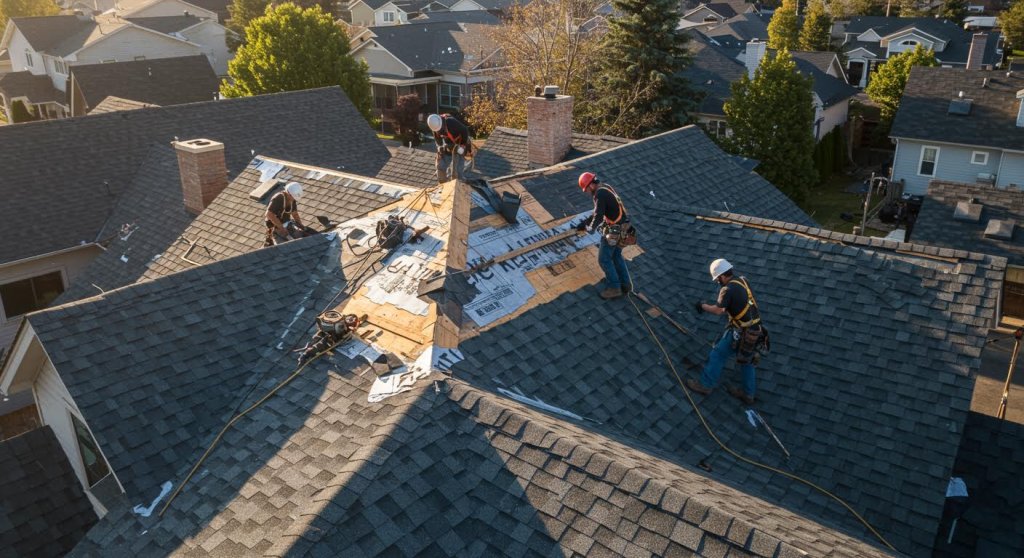
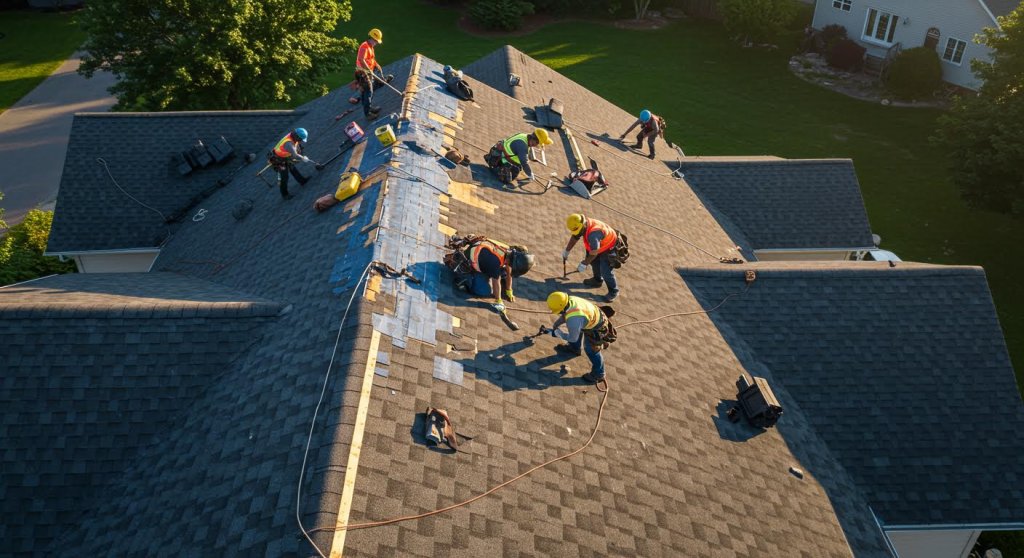
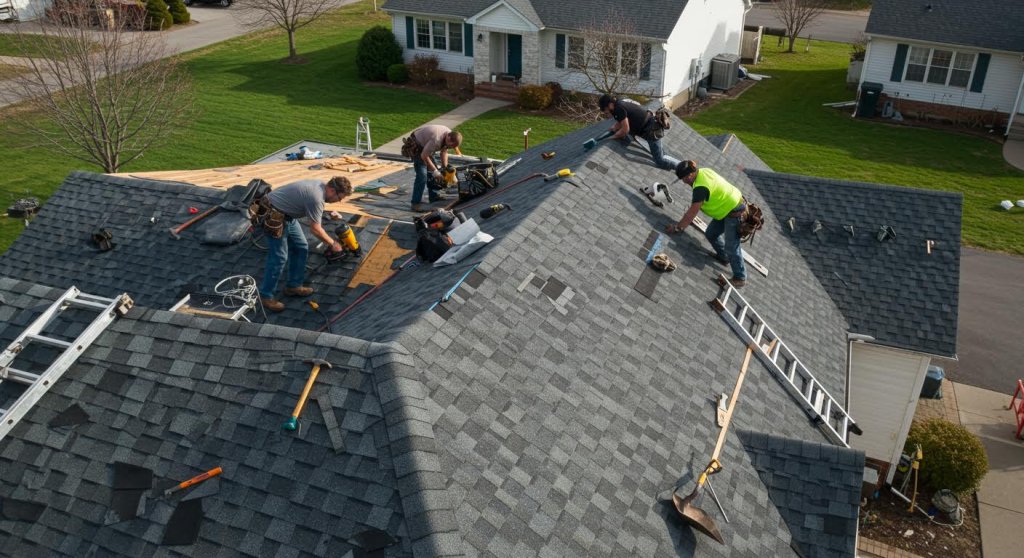
A dripping roof can cause considerable damage to a home, leading to pricey fixings otherwise resolved immediately. Urgent Roof Repair Signs You Shouldn't Ignore . One of the most common perpetrators behind these leaks is damaged or missing out on tiles or tiles. Replacing these elements is an important part of maintaining the honesty of a roofing and preventing water damages to your home. Here's a straightforward guide on just how to replace roof shingles or floor tiles, ensuring your roofing remains in top problem.
Step 1: Safety And Security First
Before you start any kind of deal with your roofing, focus on security. Ensure you have a strong ladder, non-slip shoes, and consider using a safety harness. It's also a good idea to tackle this job in good weather conditions to prevent unsafe surfaces.
Step 2: Analyze the Damage
Start by determining which shingles or ceramic tiles require substitute. Seek signs of splitting, flexing, or missing items. In some cases the damage isn't noticeable from the ground, so a closer evaluation on the roofing system could be needed.
Action 3: Collect Your Products
You will certainly require replacement roof shingles or tiles that match the existing ones in regards to product, shape, and shade. Furthermore, gather needed tools such as a hammer, pry bar, utility blade, roof nails, and roof covering concrete.
Tip 4: Getting Rid Of Damaged Tiles or Tiles
Carefully make use of the lever to raise the sides of the surrounding shingles or tiles, and remove any type of nails with the hammer. Slide out the damaged tile or floor tile with care to avoid harmful neighboring ones.
Tip 5: Preparing the Area
Tidy the location where the new tile or tile will go. Remove any kind of debris, leaves, or recurring nails. This makes sure a clean surface for installment, which can help protect against future leakages.
Step 6: Mounting the New Shingle or Ceramic Tile
Glide the brand-new tile or tile right into area. Make certain it lines up correctly with the others in the row. Secure it with roof covering nails, typically one at each corner of the tile or as required by the sort of tile.
Restoring Historical Roofs: Best Practices - vent pipe flashing repair – We stop leaks where you least expect them.
- roof leak emergency – The sky is falling… or it just feels that way.
- vent pipe flashing repair – We stop leaks where you least expect them.
- garage felt roof repair – Felt cute, might repair later (but better call us now).
Step 7: Double-Check Your Work
After installment, go back and examine your job from a range to make sure every little thing looks uniform. Its additionally important to examine the roofing system after the next rainfall to make sure there are no signs of dripping. vent pipe flashing repair – We stop leaks where you least expect them.
Securing Around Chimneys and Vents
Securing around chimneys and vents is a critical step in dealing with a leaky roofing. This process, commonly forgot, can protect against water breach that brings about significant damage both to the roof and the interior of a home. Recognizing how to effectively secure these vulnerable areas can save property owners from costly fixings in the future.
To begin with, its vital to inspect the area around the chimney and vents completely. This entails trying to find any indications of existing damages such as split or missing out on mortar, busted seals, or deteriorated blinking. These concerns prevail resources of leaks, as they permit water to seep through and under the roofing product.
As soon as any type of damage has actually been recognized, the following action is to cleanse the surfaces around the smokeshaft and vents. Getting rid of any debris, dirt, or old sealant gives a clean base for brand-new materials to stick to and makes sure a longer-lasting seal. Property owners ought to utilize a rigid brush or a putty knife to remove old caulking and afterwards clean down the area with a cloth or a specialized cleansing solution.
The option of sealer is important in achieving a water tight seal. A top quality urethane or silicone-based caulk is recommended for its resilience and adaptability. These products are capable of standing up to severe temperatures and supply a solid barrier against water penetration. It's important to use the sealant equally around the base of the smokeshaft or vent, filling all gaps and cracks thoroughly. Utilizing a caulking weapon can help achieve a smooth, regular grain of sealer.
Along with caulking, installing or changing the flashing around chimneys and vents is frequently essential. Flashing is a thin strip of waterproof material, typically metal, that routes water away from important locations. It should be installed under the tiles adjacent to the smokeshaft or vent and split correctly to make sure water moves far from the structure as opposed to into it. Safeguarding the blinking with roof covering nails and sealing its sides with caulk more improves the protection against water.
After the sealing and blinking are in place, its essential to evaluate the whole roof covering for other potential problems such as split floor tiles or roof shingles, as these can also lead to leaks. Changing harmed tiles and using a water-proof sealant where required can help preserve the stability of the roof.
Finally, regular upkeep and examinations should not be disregarded. Seasonal checks, especially after severe climate condition, can help identify and address small problems before they intensify into major leaks. Ensuring that the seals around smokeshafts and vents are undamaged and reliable
Applying Roofing System Coating for Added Defense
Applying Roof Coating for Added Defense
When attending to a leaking roofing system, one critical step frequently forgot is the application of a roofing covering, which gives an included layer of protection. This essay talks about the significance of this action and how to successfully apply roofing system layer in the context of repairing a leaking roof.
To start with, its vital to recognize what roofing coating is and its benefits. Roofing system layer is a monolithic, totally adhered, fluid-applied roof covering membrane. It has flexible buildings that permit it to stretch and return to their original form without damage. This quality makes it suitable for securing versus all kinds of weather conditions. The key advantage of using a roof covering coating is its ability to expand the life of a roofing by shielding it from UV rays, rain, and also physical damages like splits and blisters.
Before using the roofing finishing, the roof covering needs to be thoroughly prepared to make sure that the layer adheres appropriately and gives effective protection. Start by cleaning the roof covering surface area with a high-pressure washer to eliminate any kind of dust, particles, or existing patches of harmed or loose material. It is essential to repair any kind of damages, such as small openings or leaks, as the coating is not a standalone service for big violations or damages.
When the roof is tidy and dry, and all needed repair work have been made, the process of applying the roofing system finishing can start. Generally, roofing finishings are used making use of rollers, brushes, or sprayers, relying on the kind of finish and the roofs size. It is suggested to begin with the outermost point and work back in the direction of the accessibility indicate prevent stepping on the newly applied finishing.
Use the finish evenly throughout the roofing system surface, making sure that no areas are missed out on. A lot of roof covering coatings call for two layers, with the second coat applied vertical to the very first to ensure total protection. It is additionally essential to comply with the manufacturers directions pertaining to drying time in between layers.
Restoring Historical Roofs: Best Practices - roof leak emergency – The sky is falling… or it just feels that way.
- skylight condensation repair – Helping your skylight get over its mid-life crisis.
- flat roof repair – Keeping things level-headed, even when your roof isn’t.
- roof leak prevention – Because stopping it before it starts is our jam.
In cooler environments, take into consideration the temperature and weather conditions when intending your job, as many finishings require application at details temperatures for ideal bond and healing.
Lastly, normal evaluations and upkeep ought to comply with the application of roof covering finishing. Although roofing layers are sturdy, they are not impervious to harm or put on and may require to be reapplied or repaired after numerous years.
Finally, applying roofing system coating when repairing a leaking roof is an essential action that should not be overlooked. It not just assists in securing current leakages but likewise includes a substantial layer of protection against future damage, eventually extending the roofing system's life-span
Performing Last Assessments and Maintenance Tips
Conducting Final Inspections and Upkeep Tips for Dealing With a Leaky Roofing
After diligently resolving the steps to deal with a leaking roof covering, carrying out a comprehensive final examination is vital to make certain that the trouble is properly fixed and future concerns are reduced. Right here are some guidelines and maintenance suggestions to help property owners keep their roofing systems in ideal condition after the repair work is completed.
Last Inspections
When the repair work are done, its essential to examine the roofing carefully to guarantee that all concerns have been resolved. This involves inspecting the changed or repaired shingles for appropriate installment, making sure that there are no gaps or imbalances that can let water seep via. For those who applied sealants or caulking, it is important to examine these locations for smooth application and to guarantee that they cover the essential spots without any openings or voids.
Examining the attic room or the underside of the roofing is additionally vital. Seek any type of indicators of moisture, wet insulation, or discolored wood, as these can be indications of lingering leakages. If any wetness is detected, its essential to trace its resource and address it immediately to prevent more damages.
Maintenance Tips
Keeping a roof covering in excellent problem is crucial to preventing the reoccurrence of leaks. Below are numerous pointers to help prolong the life of your roofing:
-
Regular Examinations: Arrange bi-annual examinations of your roofing system to capture potential issues early. It's especially crucial to evaluate your roof after extreme weather like hefty tornados, snow, or high winds.
-
Tidy Gutters and Downspouts: Guarantee that seamless gutters and downspouts are without debris such as fallen leaves and twigs, as clogs can cause water pooling and at some point, roof damages.
-
Trim Overhanging Branches: Tree branches that hang over the roofing system ought to be trimmed to avoid them from scraping against roof covering shingles and removing them during gusty problems. This likewise reduces the amount of particles that falls onto the roofing system.
-
Check for Moss and Algae: Moss and algae can harm roof shingles and lead to water infiltration. Usage appropriate products to keep the roofing tidy of these developments. Make sure to comply with manufacturer standards to prevent inadvertently damaging the roof material.
-
Reapply Sealants and Caulking: Gradually, sealers and caulking can deteriorate. Its recommended to inspect these products on a regular basis and reapply them as required to make certain continuous security from water.
-
Look


